
How to Install WordPress on a USB Flash Drive
Install WordPress on a USB drive lets you carry your website around and work on it on any computer. It’s great for trying things out without affecting a live website. In today’s digital age, flexibility and mobility are key.
Whether you’re a blogger, a developer, or a designer, carrying your work with you wherever you go can be a game-changer. One way to achieve this is by installing WordPress on a USB flash drive, effectively creating a portable website development environment.
In this guide, we’ll walk through the steps to set up WordPress on a USB flash drive, allowing you to work on your WordPress projects from any computer.
Here are five WordPress Search Plugins to optimize your site’s search functionality: SearchWP, Relevanssi, Ajax Search Lite, Ivory Search, and Search & Filter.
Why Install WordPress on a USB Flash Drive?
Installing WordPress on a USB flash drive offers several advantages:
- Portability: Carry your WordPress website and development environment wherever you go.
- Security: Keep your website files and data encrypted and safe on your USB flash drive, reducing the risk of unauthorized access.
- Flexibility: Work on your WordPress projects from any computer without complex setups or installations.
- Backup: Use the USB drive as a backup for your WordPress website, ensuring you always have a copy of your work.
Step-by-step guide by Install WordPress on a USB Flash Drive
Before we dive into the installation process, make sure you have the following:
- A USB flash drive with sufficient storage capacity.
- A text editor for editing configuration files (e.g., Notepad++, Sublime Text).
- A web browser for testing your WordPress installation.
Step 1: Download and Install XAMPP Portable
XAMPP is a popular open-source software stack that includes Apache, MySQL, PHP, and Perl. XAMPP Portable is a version of XAMPP designed to run from a USB flash drive without installation. Follow these steps to set up XAMPP Portable:
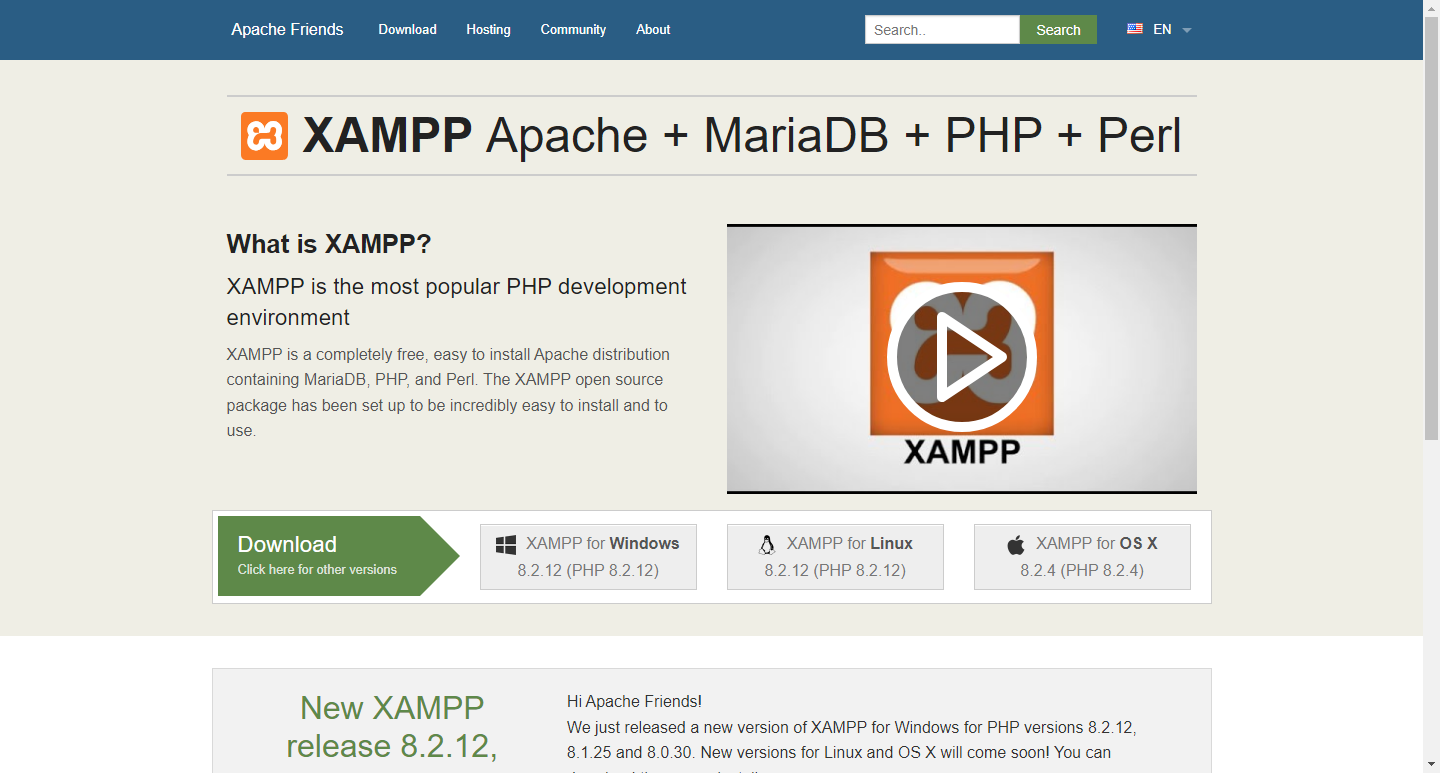
- Download XAMPP Portable from the official website (https://www.apachefriends.org/index.html).
- Extract the downloaded ZIP file to your USB flash drive.
- Navigate to the XAMPP folder on your USB drive and double-click on “xampp-control.exe” to launch the control panel.
- Start the Apache and MySQL services by clicking on the “Start” buttons next to their respective names.
Step 2: Download and Extract WordPress
With XAMPP Portable up and running, it’s time to download and extract the WordPress files:

- Visit the official WordPress website (https://wordpress.org/download/) and download the latest version of WordPress.
- Once downloaded, extract the WordPress ZIP file to the “htdocs” folder within the XAMPP directory on your USB flash drive. You should now have a folder named “wordpress” inside “htdocs”.
Step 3: Create a MySQL Database
WordPress requires a MySQL database to store website data. Follow these steps to create a MySQL database using phpMyAdmin (included with XAMPP):

- Open your web browser and navigate to http://localhost/phpmyadmin/.
- Click on the “Databases” tab and enter a name for your WordPress database (e.g., “wordpress_db”).
- Click “Create” to create the database.
Step 4: Configure WordPress
Now that you have XAMPP Portable installed, WordPress extracted, and a MySQL database created, it’s time to configure WordPress:
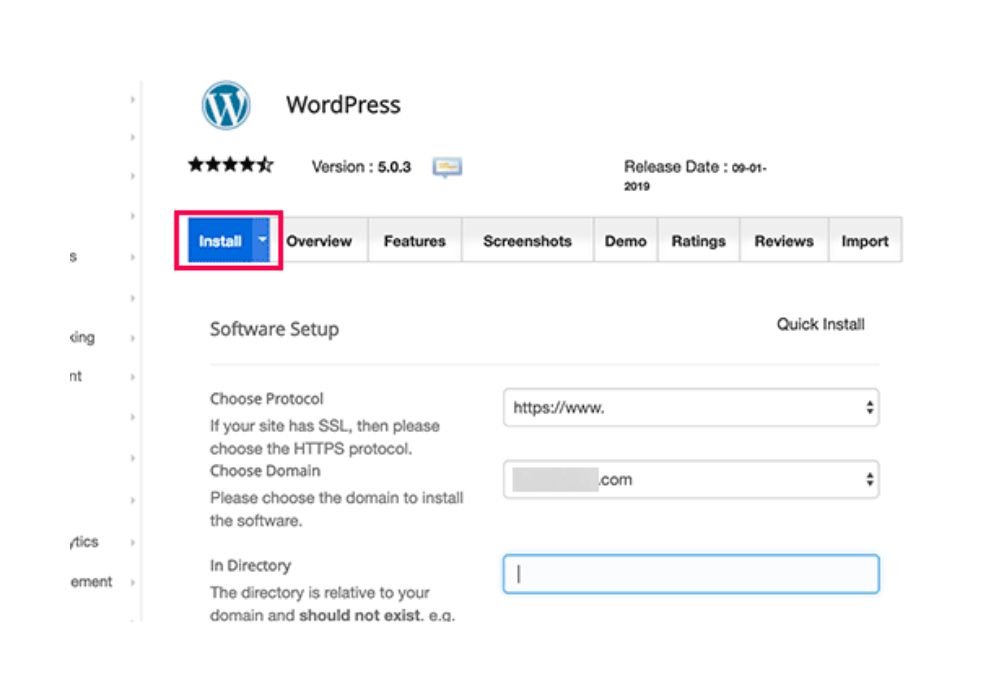
- In your web browser, navigate to http://localhost/wordpress/.
- Select your preferred language and click “Continue”.
- On the welcome screen, click “Let’s go!” to begin the WordPress installation process.
- Enter the database information:
- Database Name: Enter the name of the database you created earlier (e.g., “wordpress_db”).
- Username: Enter “root” Password: Leave this field blank.
- Database Host: Enter “localhost”.
- Table Prefix: You can leave this as is or change it for security purposes.
- Click “Submit” and then “Run the installation”.
- Enter your website details (e.g., site title, username, password) and click “Install WordPress”.
Step 5: Access Your WordPress Site
Congratulations! You’ve successfully Install WordPress on a USB Flash Drive. To access your WordPress site and start building, follow these steps:
- Open your web browser and navigate to http://localhost/wordpress/.
- Log in using the username and password you specified during the installation process.
- You can now begin customizing your WordPress site, installing themes and plugins, and creating content.
Conclusions
By following these steps, you’ve created a portable WordPress development environment on a USB flash drive. Whether you’re a blogger, developer, or designer, having WordPress at your fingertips wherever you go offers unparalleled flexibility and convenience.
With your WordPress site stored securely on a USB flash drive, you can work on your projects from any computer without worrying about complex setups or installations. So, why wait? Start building your WordPress empire today, and take it with you wherever you go.


