How to Add a Yelp Widget to Your Website
Adding a Yelp widget to your website is a great way to display reviews, boost your business’s credibility, and attract more visitors. Yelp is one of the most popular review platforms, trusted by millions, so showcasing your Yelp profile on your website can help potential customers feel confident about choosing your business. Here’s a comprehensive, easy-to-follow guide on how to add a Yelp widget to your website.
Look at our previous post Free Website Analysis Plugins to Boost Your SEO and Performance for You where we guide Boost Your SEO Performance.
Why Add a Yelp Widget?

First, let’s talk about why a Yelp widget can be beneficial for your business:
- Builds Trust: Showcasing customer reviews and ratings on your website can create a sense of trust and authenticity.
- Increases Engagement: Adding dynamic elements like a widget keeps visitors on your site longer.
- Improves SEO: Yelp widgets can contribute to local SEO, helping you rank better in search results when customers search for services in your area.
Now, let’s dive into the step-by-step process of adding a Yelp widget to your website.
Types of Yelp Widgets Available

Yelp offers various widget options, each with a unique focus. Here are a few of the most commonly used types:
- Yelp Review Badge: Displays a snapshot of recent customer reviews.
- Yelp Business Badge: Shows essential business information and ratings.
- Yelp Check-In Button: Encourages users to “check in” to your location on Yelp.
Choosing the right widget depends on what you want to highlight on your site. For instance, the Review Badge is a great choice if you want to emphasize customer satisfaction.
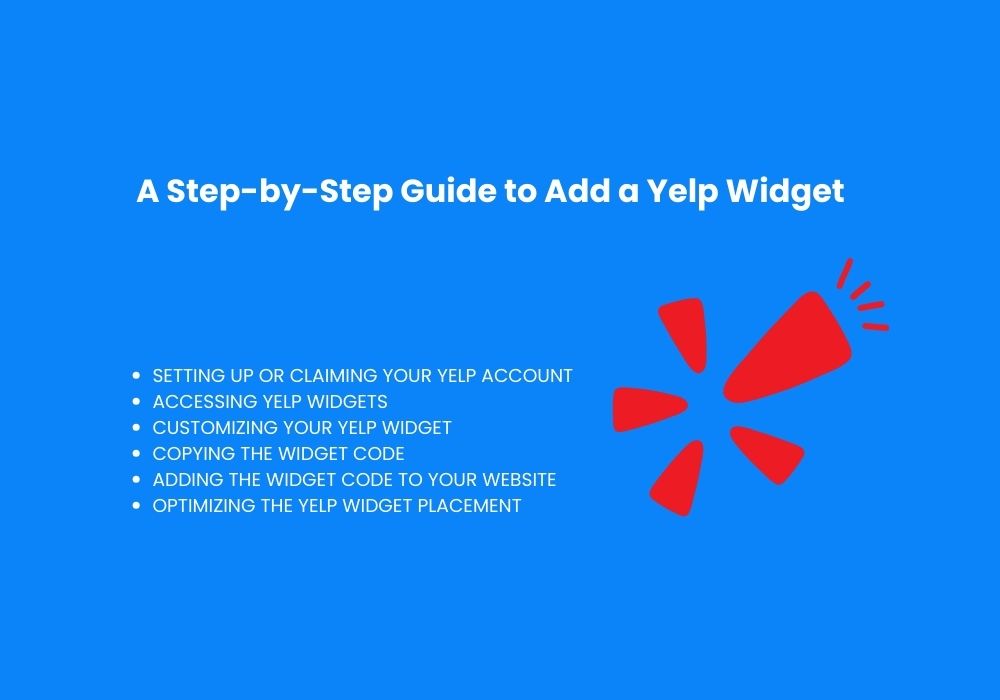
A Step-by-Step Guide to Add a Yelp Widget

Step 1: Setting Up or Claiming Your Yelp Account
Before you add a Yelp widget to your website, you need a Yelp Business Account. Here’s how you can set it up:
- Create an Account: Go to the Yelp for Business page and click “Manage My Free Listing.”
- Claim Your Business: If your business is already listed on Yelp, claim it by searching for it on the website.
- Fill Out Your Business Profile: Add accurate information about your business, including contact details, hours, and photos.
Once your profile is complete, you’re ready to access Yelp widgets.
Step 2: Accessing Yelp Widgets
Once your Yelp business account is set up, follow these steps to access and select your preferred widget:
- Log in to Your Account: Go to Yelp’s business login page and log in with your credentials.
- Navigate to Reviews or Badges: Go to the Reviews or Badges section in the business account dashboard.
- Select Your Widget: Choose the widget you want to use. Yelp may provide options based on the type of information you want to display.
Step 3: Customizing Your Yelp Widget
Yelp allows some customization for widgets, so you can adjust it to fit your website’s style and layout. Here are some customization options:
- Size: Most widgets have different size options. Choose the size that works best for the area you want to place it in.
- Color Scheme: Some widgets allow you to pick a color scheme to match your website’s branding.
- Layout: You might be able to select vertical or horizontal layouts based on where the widget will be placed on your site.
After you’ve customized the widget to your liking, Yelp will generate a unique HTML code for your widget.
Step 4: Copying the Widget Code
Once you’re happy with the customization:
- Click “Generate Code”: Yelp will create the HTML code specific to your business and chosen widget.
- Copy the Code: Highlight the generated code and copy it to your clipboard (Ctrl+C on Windows or Cmd+C on Mac).
Step 5: Adding the Widget Code to Your Website
Now, it’s time to paste the code into your website. The process will differ slightly based on the platform you’re using:

WordPress
- Navigate to Appearance > Widgets in your WordPress dashboard.
- Select the “Text” Widget: Drag and drop a “Text” widget to the section of your site where you want the Yelp widget to appear.
- Paste the Code: Switch to the “Text” tab (not Visual) and paste the Yelp HTML code.
- Save the changes, and your Yelp widget will appear on your WordPress site.
HTML-Based Websites
- Open the HTML File: Open the file of the webpage where you want the widget.
- Paste the Code: Place the code in the section where you want the widget to appear, like in the sidebar or footer.
- Save the file, and upload it to your server if necessary.
Website Builders (Wix, Squarespace, etc.)
- Open the Editor: Go to the site editor for your platform.
- Add HTML Element: Find the option to add a custom HTML block.
- Paste the Code: Paste the Yelp widget code in the block.
- Save and Publish: Once saved, the widget should appear on your site.
Step 6: Optimizing the Yelp Widget Placement
Strategic placement of the Yelp widget can increase its effectiveness:
- Header or Footer: These areas are visible on every page of your website, ensuring consistent exposure.
- About or Testimonials Page: This works well if you want to highlight customer feedback.
- Sidebar: Ideal for blogs or pages with ample space in the side columns.
Test the placement to see which area receives the most engagement.
Troubleshooting Common Issues
Adding a widget can sometimes lead to unexpected issues. Here are some common problems and solutions:
- Widget Not Displaying: Ensure the code is pasted in the correct area and saved properly.
- Slowed Website Speed: Widgets can sometimes slow download times. If this happens, consider placing the widget in a less prominent area or exploring lightweight alternatives.
- Compatibility Issues: Test your website on various browsers and devices to make sure the widget appears correctly.
If issues persist, consider reaching out to Yelp’s support for further assistance.
Additional Tips for Getting the Most Out of Your Yelp Widget
To maximize the value of your Yelp widget, consider the following:
- Encourage Reviews: Politely ask satisfied customers to leave a Yelp review, which will be automatically updated on your widget.
- Respond to Feedback: Engage with customers by responding to reviews and showing potential visitors that you value feedback.
- Keep Information Updated: If there are changes to your business hours or contact details, update them on Yelp to ensure your widget reflects accurate information.
Conclusions
Adding a Yelp widget to your website can enhance your online presence, build trust, and drive engagement. Following these steps makes adding and customizing the Yelp widget easy, ensuring it fits seamlessly into your website design. With your Yelp widget in place, you’re not only promoting your business but also showcasing customer satisfaction, which can attract even more visitors to your business.


