The Beginner’s Guide to Hostinger Website Builder
Building a website with Hostinger Website Builder is straightforward and rewarding. Creating a professional-looking website has never been easier, thanks to Hostinger’s intuitive website builder. Whether you’re an entrepreneur, blogger, or small business owner, this guide will walk you through building a stunning website using Hostinger’s tools. You can have a fully functional website that looks great and performs even better in just a few simple steps.
GTmetrix is a tool that checks how fast your website loads. It informs you about what makes your site slow and how to fix it. We already wrote about GTmetrix before, read about it that can help you.
Why Choose Hostinger Website Builder?
Hostinger Website Builder is designed to be user-friendly, offering a range of features that simplify the website creation process. Here are a few reasons why it stands out:
- Ease of Use: With its intuitive drag-and-drop interface, you can easily customize your website without any coding knowledge.
- Professional Templates: Hostinger offers various templates tailored to different industries, ensuring a professional look for your site.
- Affordable Pricing: Hostinger provides competitive pricing plans, making it a cost-effective solution for individuals and small businesses.
- SEO Tools: Built-in SEO tools help optimize your website for search engines, increasing visibility and traffic.
- 24/7 Support: Hostinger’s customer support is available round the clock to assist with any issues.
Getting Started with Hostinger Website Builder
1. Sign Up and Choose a Plan
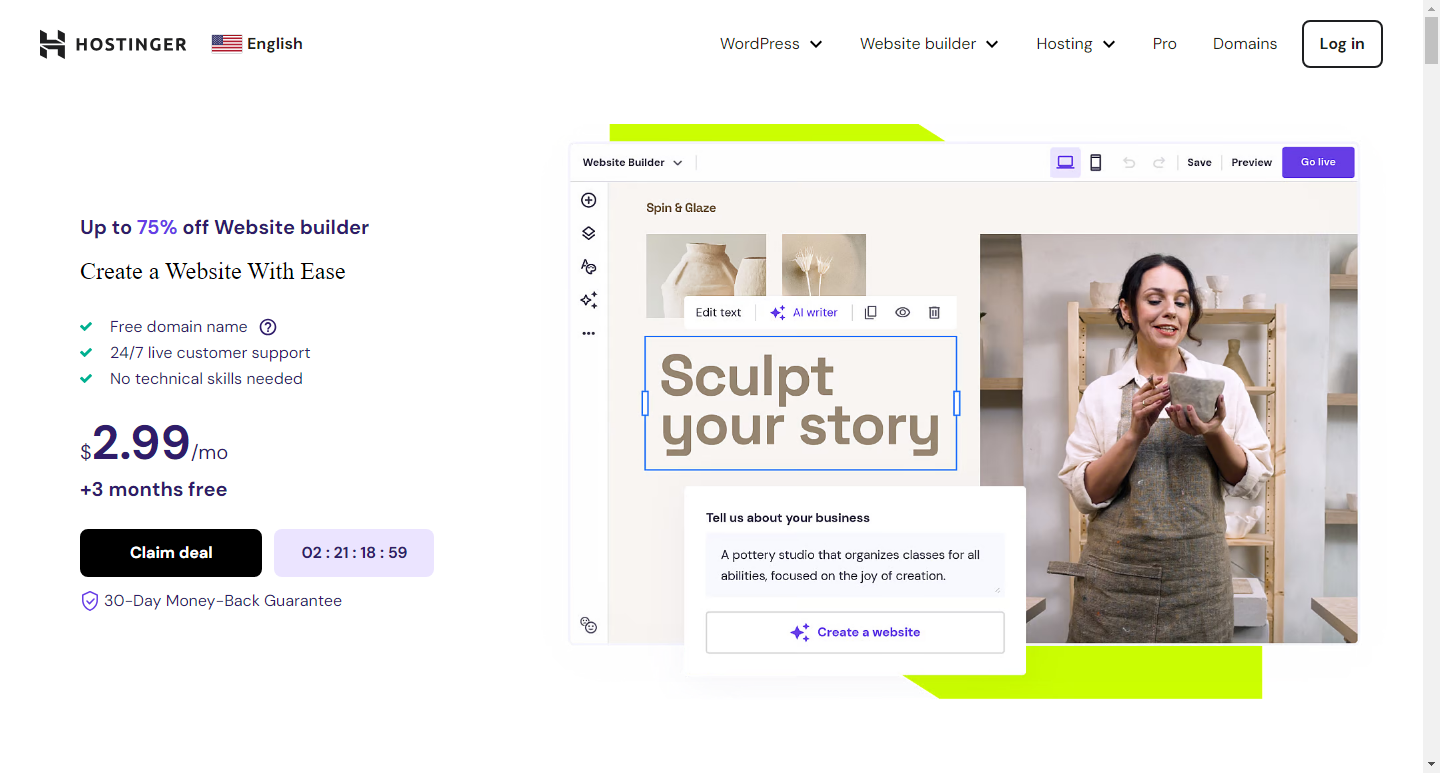
First, sign up for an account on Hostinger’s website. Hostinger offers various plans, so choose one that best fits your needs. For beginners, the Single Web Hosting plan is a great starting point, offering essential features at an affordable price.
2. Access the Website Builder
Once you’ve signed up and chosen your plan, log in to your Hostinger account. Navigate to the control panel, where you’ll find the Website Builder option. Click on it to launch the builder.
Building Your Website with Hostinger Website Builder
3. Select a Template
Hostinger Website Builder offers a wide range of templates designed for various types of websites, including blogs, portfolios, e-commerce sites, and more. Browse through the templates and select one that suits your website’s purpose. The templates are fully customizable, so you can tailor them to match your vision.
4. Customize Your Template
After selecting a template, it’s time to make it your own. Hostinger Website Builder provides an intuitive drag-and-drop interface, allowing you to easily customize your site. Here are some key customization options:
- Edit Text: Click on any text element to edit its content. You can change fonts, sizes, colors, and more to match your brand.
- Add Images and Videos: Easily add media elements by dragging and dropping them onto your site. You can upload your files or choose from Hostinger’s library of free images and videos.
- Adjust Layout: Rearrange sections and elements by dragging them to new positions. This flexibility ensures your site’s layout aligns with your preferences.
- Customize Colors and Styles: Change the color scheme and style of your site to ensure it reflects your brand’s identity. Most templates come with predefined color palettes, but you can also create your own.
Enhancing the Functionality of Hostinger Website Builder
5. Add Features and Widgets
Hostinger Website Builder includes a variety of widgets and features that can enhance your website’s functionality. Here are some popular options:
- Contact Forms: Add a contact form to your site to allow visitors to get in touch with you easily.
- Social Media Integration: Link your social media profiles to your website to increase your online presence.
- E-commerce Tools: If you’re building an online store, you can integrate e-commerce features like product listings, shopping carts, and payment gateways.
- SEO Tools: Optimize your website for search engines using the built-in SEO tools. This helps improve your site’s visibility on search engines like Google.
Finalizing Your Website with Hostinger Website Builder
6. Preview and Test Your Site
Before publishing your website, it’s crucial to preview and test it to ensure everything works as expected. Hostinger Website Builder allows you to preview your site on different devices, such as desktops, tablets, and smartphones. This ensures your site is responsive and provides a good user experience across all devices.
7. Publish Your Website
Once you’re satisfied with your site, it’s time to publish it. Click the publish button, and your website will go live. Hostinger provides reliable hosting, ensuring your site remains accessible and performs well.
Maintaining Your Website
8. Update Content Regularly
To keep your website relevant and engaging, update its content regularly. This could include adding new blog posts, updating product listings, or refreshing images and text. Regular updates not only keep visitors coming back but also improve your site’s SEO performance.
9. Monitor Performance
Hostinger offers analytics tools that allow you to monitor your website’s performance. Keep an eye on metrics such as traffic, bounce rate, and user engagement. These insights help you understand how visitors interact with your site and identify areas for improvement.
10. Ensure Security
Security is paramount for any website. Hostinger provides various security features, including SSL certificates, automatic backups, and malware scanning. Ensure these features are enabled to protect your site and its visitors.
Conclusions
Building a website with Hostinger Website Builder is a straightforward process that empowers beginners to create professional websites with ease. By following this guide, you’ll be able to set up your website, customize it to match your vision, and enhance its functionality without any coding knowledge. Whether you’re starting a blog, showcasing your portfolio, or launching an online store, Hostinger Website Builder provides all the tools you need to succeed. So, get started today and bring your website to life!

