What is a template and how to use it
In digital content creation, organization, and design, templates have become an essential tool for efficiency and consistency.
Whether you’re working on a website, creating a document, designing a presentation, or even coding, templates offer a pre-structured format that can be reused over and over.
But what exactly is a template, and how can you use one effectively? This blog post will walk you through the concept of templates and provide a simple, step-by-step guide to using them.
Before reading this blog post see our previous blog post about What is Website Maintenance and Why is it Necessary. it helps your website Maintenance easy.
What is a Template?
A template is a pre-designed layout or structure that serves as a starting point for creating something. It acts as a guide or framework that can be customized to meet specific needs.
Templates are available in various formats, from design templates for presentations or websites to text templates for emails or contracts.
Templates save time, ensure consistency, and reduce the risk of errors. Rather than starting from scratch, you can use a template as a foundation and modify it to fit your project.
Whether you’re creating a business document, blog post, website, or social media post, templates streamline the process.
Types of Templates

There are different types of templates, each serving a specific purpose:
- Document Templates: Used for reports, contracts, letters, and resumes.
- Presentation Templates: These are commonly used for slide presentations in software like PowerPoint, Google Slides, or Keynote.
- Email Templates: Pre-written emails are used for recurring communications like newsletters, customer service responses, or promotional campaigns.
- Website Templates: Pre-built website layouts that make designing a site easier.
- Graphic Design Templates: These are used in Canva, Adobe Photoshop, or Illustrator to create posters, social media graphics, and more.
- Coding Templates: For web development and coding, templates help in creating HTML pages, CSS stylesheets, and even application structures.
Now that you understand what a template is, let’s dive into how to use one.
Step-by-Step Guide to Using Templates
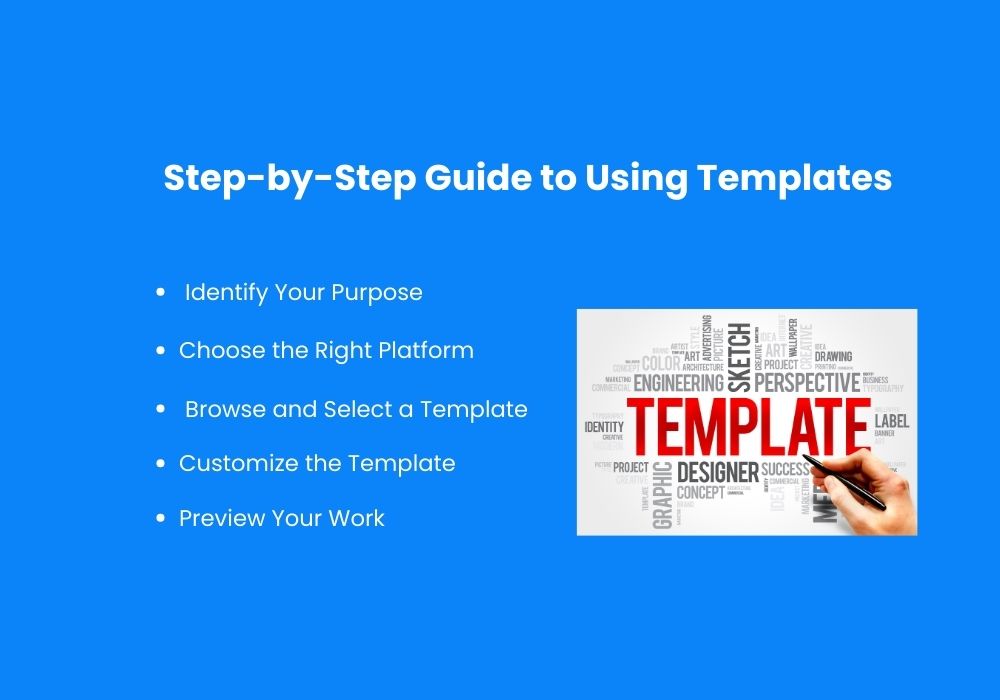
Step 1: Identify Your Purpose
Before choosing a template, it’s important to clearly understand what you need it for. Are you writing a formal report, creating a presentation, or designing a webpage? Knowing your objective helps you choose the right template.
For example, if you’re designing a website, you’ll need a website template. If you’re preparing a project report, you’ll want a document template. Once you define your purpose, it will be easier to navigate through the available options and select one that meets your needs.
Step 2: Choose the Right Platform
There are many platforms where you can find templates depending on your project:
- Document Templates: Microsoft Word, Google Docs, Apple Pages.
- Presentation Templates: PowerPoint, Google Slides, Prezi.
- Website Templates: WordPress, Squarespace, Wix.
- Graphic Design Templates: Canva, Adobe Spark, Figma.
Each platform offers pre-designed templates for specific types of projects. For example, if you’re creating a document, you might use a template from Google Docs or Microsoft Word. For social media posts or presentations, you could use Canva or PowerPoint.
Step 3: Browse and Select a Template
Once you know your purpose and have selected a platform, the next step is to browse the available templates. Most platforms allow you to filter templates by category, making it easier to find one that matches your project.
For example, in Canva, you can select from categories like “Social Media,” “Posters,” or “Presentations.” In WordPress, you can filter by “Business,” “Portfolio,” or “E-commerce” to find a website template suited to your needs.
Step 4: Customize the Template
Once you’ve selected a template, it’s time to customize it to fit your needs. Here’s how you can modify templates based on the type of project:
- Document Templates: In a platform like Google Docs or Word, you can edit the text, change fonts, and modify the layout. For example, a resume template can be personalized by adding your own work experience and skills.
- Presentation Templates: In PowerPoint or Google Slides, you can change the background colors, adjust fonts, replace images, and add your content to the slides.
- Website Templates: If you’re using a website builder like Wix or Squarespace, you can replace placeholder text and images with your content, rearrange sections, and customize colors to align with your brand.
- Graphic Design Templates: In Canva or Photoshop, you can drag and drop images, change fonts, colors, and shapes, and add your content.
Remember to focus on customizing the content, design, and layout while keeping the original structure intact. Templates are meant to be guides, so you don’t need to drastically alter their format.
Step 5: Preview Your Work
Before finalizing your template, always preview it. This allows you to see how your customization looks and whether it meets your expectations. Most platforms offer a preview option that simulates how your project will look when it’s complete.
For example:
- In Canva, you can preview your social media post or design to check the layout and colors.
- In PowerPoint, you can run the slideshow to see how your presentation flows.
- In WordPress, you can preview your website to see how it will look on different devices (desktop, tablet, and mobile).
Take time to check for errors, layout issues, or any adjustments needed before moving to the next step.
Step 6: Save and Export
Once you’re satisfied with your customized template, save it. Most platforms allow you to export your project in various formats. Depending on your needs, you can:
- Save as a PDF for documents or presentations.
- Publish to the web if it’s a website template.
- Export as an image (JPEG or PNG) for social media graphics or posters.
- Download in multiple formats for graphic design templates (e.g., PDFs, images, or print-ready formats).
Saving in the right format ensures that your work is compatible with its intended use.
Step 7: Reuse for Future Projects
One of the biggest advantages of templates is that you can reuse them. Save your customized template as a new template that can be used for similar future projects. For example, if you create a business report template in Word, you can use that same format for future reports, making it easier to maintain consistency.
Similarly, if you create a stunning social media graphic in Canva, you can reuse the template by swapping out images and text while keeping the overall design.
Benefits of Using Templates

Using templates provides several benefits:
- Time-saving: You don’t need to start from scratch every time you create something new.
- Consistency: Templates ensure that your design, format, and style remain consistent across multiple projects.
- Easy to use: Templates are user-friendly, even for beginners, allowing for quick modifications.
- Professional look: Pre-designed templates often follow best design practices, ensuring a polished, professional appearance.
Conclusions
Templates are powerful tools that can simplify your work while ensuring that your projects look professional and consistent. Whether you’re designing a website, creating a document, or making a presentation, templates provide a solid foundation that you can build on.
By following the step-by-step guide above, you can easily incorporate templates into your workflow, saving time and effort while improving the quality of your output.
So next time you embark on a new project, don’t hesitate to use a template; it will streamline the process and give you a head start!