How to Create Custom Theme in WordPress Step by Step
Create Custom Theme in WordPress can provide a unique look and feel to your website while also giving you complete control over the design and functionality. WordPress is a powerful platform that allows users to build and customize their websites effortlessly. While there are countless themes available, creating a custom WordPress theme can give your website a unique and personalized touch.
What is a custom theme?
A custom theme is a personalized design created for a website, blog, or application. It’s like choosing the look and feel of your digital space, such as colors, fonts, layout, and overall style. With a custom theme, you can make your online presence unique and tailored to your preferences or brand identity. It helps create a cohesive and visually appealing environment for users to interact with content or products.
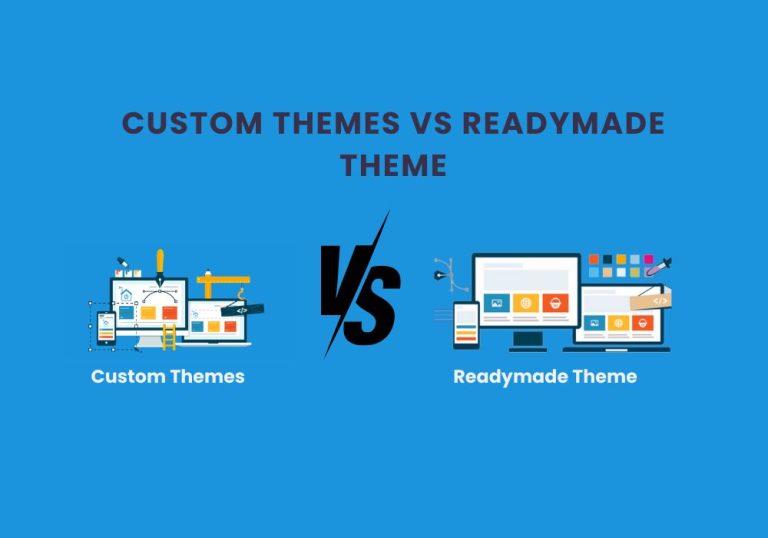
Custom Themes Or Readymade Theme, When it comes to creating a visually appealing and functional website, choosing the right theme is crucial.
Why Should I Customize My WordPress Theme?
Customizing your WordPress theme can make your website stand out and reflect your unique identity or brand.
- Branding: Tailoring your theme aligns your site with your brand, fostering recognition and trust among visitors.
- Uniqueness: Customization sets your site apart from competitors, making it memorable and engaging for users.
- Functionality: Personalizing your theme allows you to add features and functionalities specific to your needs, enhancing user experience.
- Flexibility: Customization empowers you to adapt your site as your business evolves, ensuring it remains relevant and effective.
- SEO: Optimizing your theme for search engines improves visibility and helps attract organic traffic to your site.
- Performance: Customization can streamline code and optimize performance, resulting in faster load times and better user satisfaction.
How to Create Custom Theme in WordPress Step-by-Step
Creating a custom theme in WordPress involves several steps. In this step-by-step tutorial, we will guide you through the process of creating a custom WordPress theme from scratch.
Here’s a step-by-step guide to help you create a custom theme:
Step 1: Setting Up Your Development Environment
Before you start creating your custom theme, you’ll need to set up a local development environment for WordPress. You can use software like XAMPP, WAMP, or MAMP to create a local server environment on your computer.
Step 2: Creating a New Theme Directory
Once your development environment is set up, navigate to the “wp-content/themes” directory in your WordPress installation. Create a new folder for your custom theme and give it a unique name.
Step 3: Creating the Necessary Theme Files
Inside your theme directory, you’ll need to create the essential theme files, such as style.css, index.php, header.php, footer.php, and functions.php. These files will control the appearance and functionality of your custom theme.
Step 4: Adding Styles and Scripts
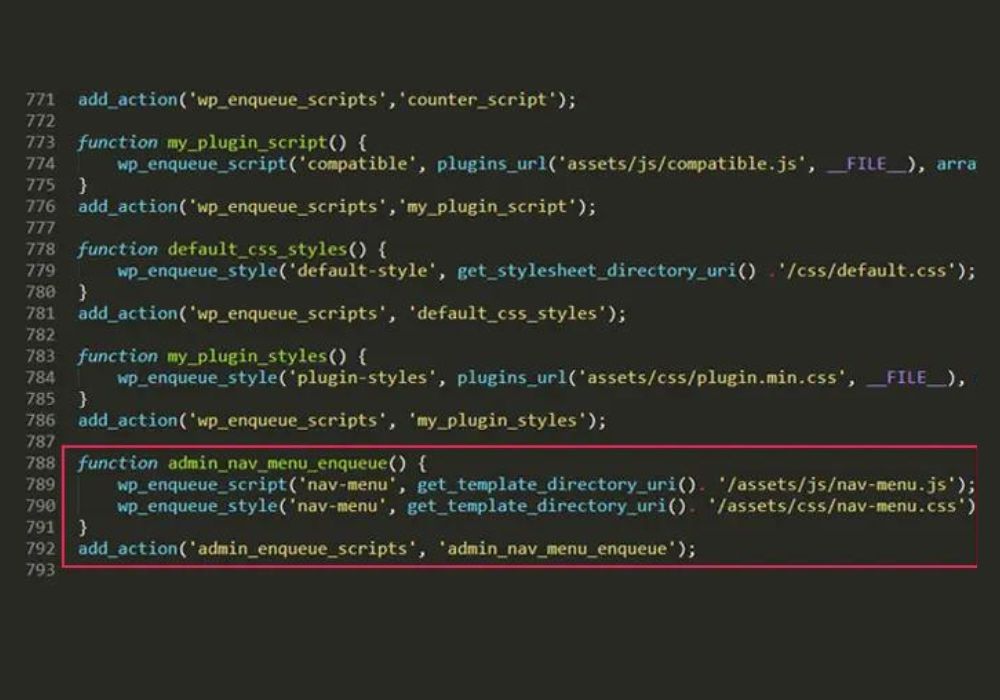
Edit the style.css file to add the necessary CSS styles for your theme. You can also create a new file for JavaScript and enqueue it in the functions.php file to add custom scripts to your theme.
Step 5: Designing the Theme Layout
Customize the header.php and footer.php files to define the header and footer sections of your theme. You can also modify the index.php file to set the layout for the homepage and archive pages.

Credit: www.codeable.io
Step 6: Adding Theme Support and Functionality
Use the functions.php file to add theme support for features like custom logos, post thumbnails, navigation menus, and more. You can also create custom functions to add specific functionality to your theme.
Step 7: Testing and Debugging
Once you’ve completed the initial development of your custom theme, it’s essential to thoroughly test and debug it. Check for any layout issues, responsive design problems, and browser compatibility issues.
Step 8: Packaging Your Theme
Before you can use your custom theme on a live website, you’ll need to package it for distribution. Create a .zip file containing your theme directory and its files, making it easy to install on other WordPress sites.
Step 9: Deploying Your Custom Theme
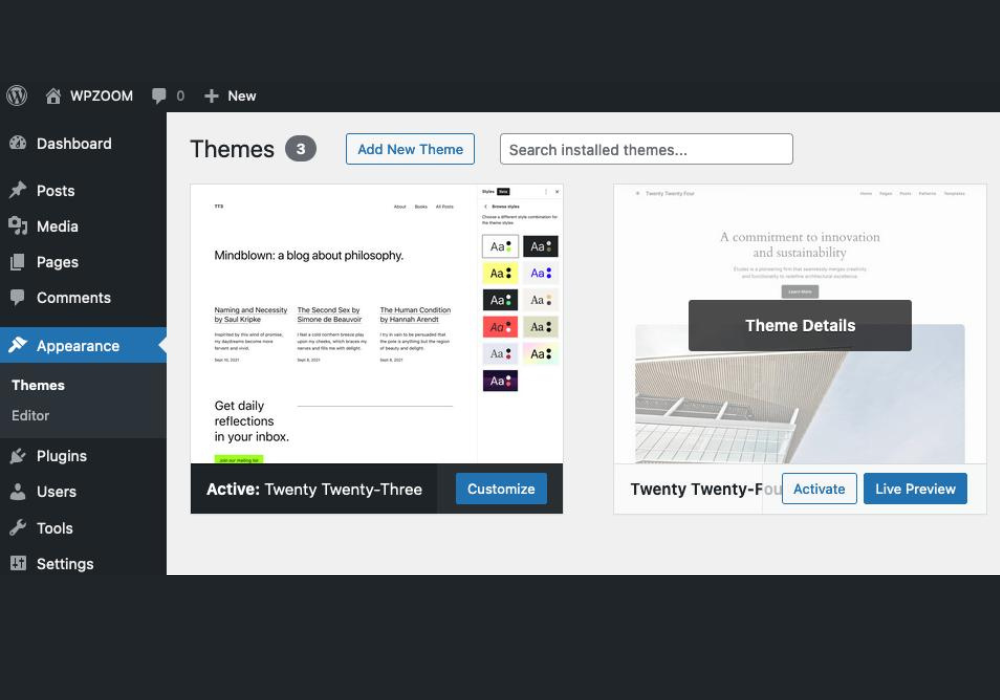
Finally, you can deploy your custom theme to a live WordPress website. Upload the .zip file to the “Themes” section in the WordPress admin panel and activate it to apply your custom theme to the site.
Themes in WordPress serve as a gateway into the realm of web design and customization of popular content management systems (CMS).
Conclusions
Congratulations! You’ve successfully Create Custom Theme in WordPress involves several steps. Here’s a step-by-step guide to help you create a custom theme: from scratch. By following these step-by-step instructions, you can now design and develop unique and personalized themes for any WordPress website.
Creating a custom WordPress theme might seem daunting at first, but by following these steps, you can unlock a world of possibilities for your website. From setting up a local environment to customizing styles and adding functionality, this guide empowers you to design a unique online presence that reflects your vision and brand. Don’t be afraid to experiment, and enjoy the creative process of bringing your custom WordPress theme to life.